The installation of all Foamsorption tiles is simple and quick hence the cost of installation is extremely low. Foamsorption tiles are simple to cut with a sharp knife and glued into position with our special adhesive.
Foamsorption adhesive allows for accurate alignment and location of tiles. A 5mm shadow gap should be left between the tile joints which help to give a perfect optical impression. Clean gloves should be worn when handling and installing the tiles.
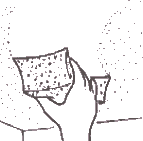
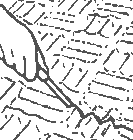
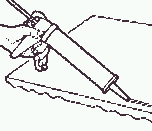
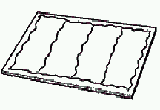

FOAMSORPTION acoustic tiles are produced in pairs, ie. handed positive and negative. When bonding these tiles, start in the centre of the area and work outwards. Each row should commence with the opposite hand than its predecessor and alternate from row to row.
FOAMSORBA acoustic tiles should be stored in a completely dry and room temperature environment. They are designed for installation under standard occupancy conditions from 10-25oC and not more than 60% RH in an enclosed building.
The contractor shall be responsible for the examination and acceptance of all conditions and project suitability prior to the acoustic tile installation.