soundproofing -
floor soundproofing systems index -
soundproofing guides
ACOUSTICEL QUIETFLOOR INSTALLATION INSTRUCTIONS
Features
Pros
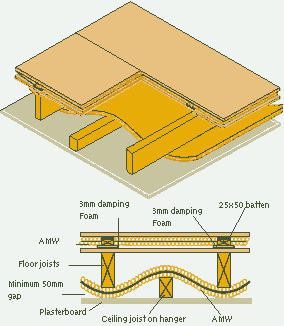
- no increase in floor height
- no access to ceiling below
- lowest cost system available
- part E compliant
Cons
- requires lifting of floorboards
Fixing Instructions (Please print-off or download for future reference)
Preparation
The floor to be treated should be examined and any loose floorboards should be firmly secured with screw fixings. It is also extremely beneficial to seal the joints of the existing floor with our mineral loaded sound barrier mat SBM5. No mechanical fixings or glue is required. SBM5 can simply be laid over the floor surface wall to wall with the edges butt jointed.
Installation
Quiet-Floor is simply loose laid on the floor. It is essential that the thinner barrier layer is on the bottom of the panel when placed in position. It is also essential the panels are laid in a staggered, brick type pattern and that they are butted tightly together over the entire floor surface. If SBM5 has been applied first, carpet grippers should be fixed in the normal manner directly on top of the SBM5. The Quiet-Floor can then be installed inn exactly the same ay as normal carpet underlay. If SBM5 has not been used, Quiet-Floor should be installed right up to the skirting boards and the top layer of barrier mat and foam cut back with a sharp craft knife to allow fitting of the carpet grippers. The grippers can then be screwed or nailed into their normal positions before fitting of the carpet commences.


The contractor shall be responsible for the examination and acceptance of all conditions and project suitability prior to the acoustic tile installation.
Important fitting points
- Seal all panel joints with tape as closely as possible
- Caulk all joints where the angle changes
- do not allow any solid structural material bridge between across the panels from the outer noisey structure
- make sure you use plenty of acoustic adhesive on all panel interfaces
- joint the panels as quickly as possible after appling any adhesive